My Printer Stand Jukebox Conversion Page 4
While letting the spray paint dry and let some fumes out of the garage... I then cut the piece of door casing for the trim around the screen.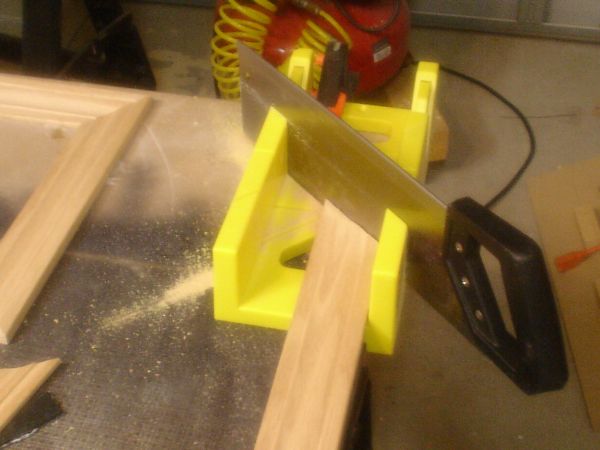
after about 15 minutes of miter cutting on my cheap $6.00 miter saw and box combo.
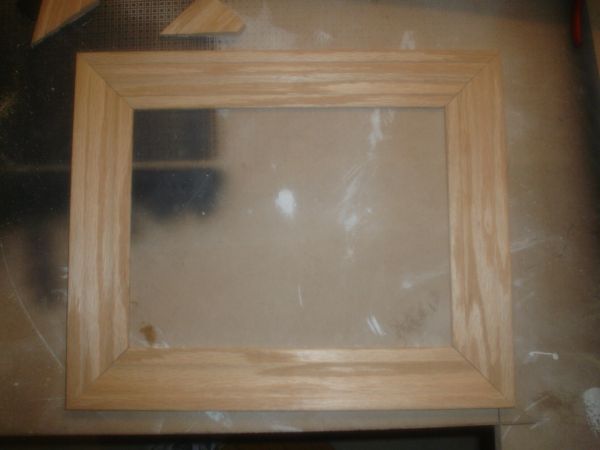
Then back to the screen grill.
Then made a lip so I could mount it to the center shelf on the jukebox.
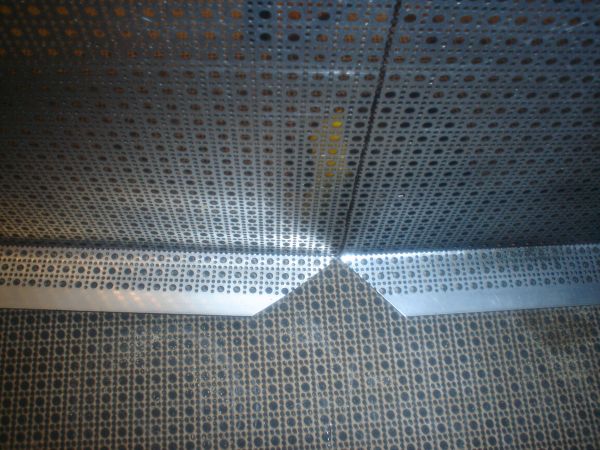
then some more cuts so it will bend to make the nice curve in the middle.
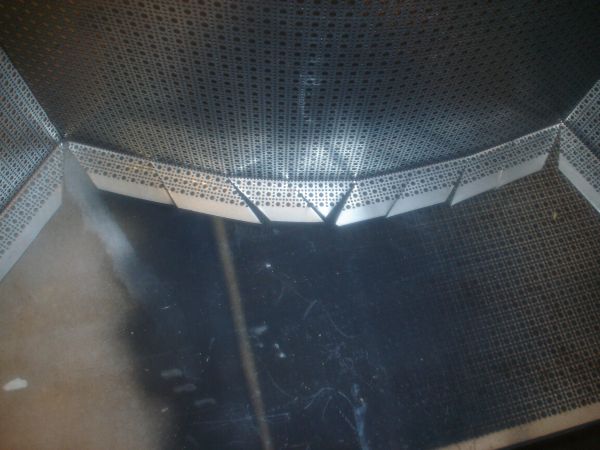
Then some fit & cutting with tin snips and here is the final grill finish.
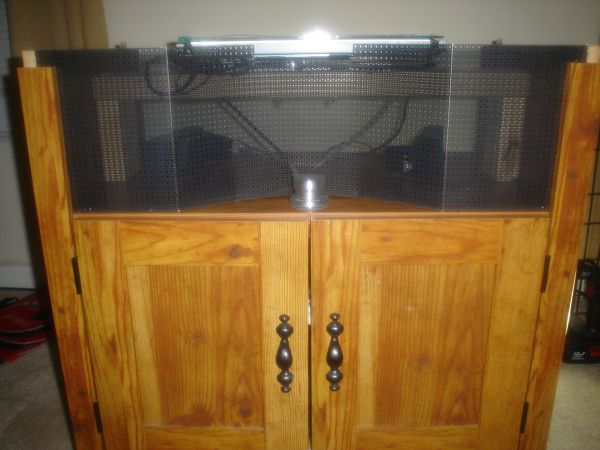
Fits and look great!
About 3 1/2 hours into this project. Here is a pic of how the screws are attached with the lip that I made with the screen/grill
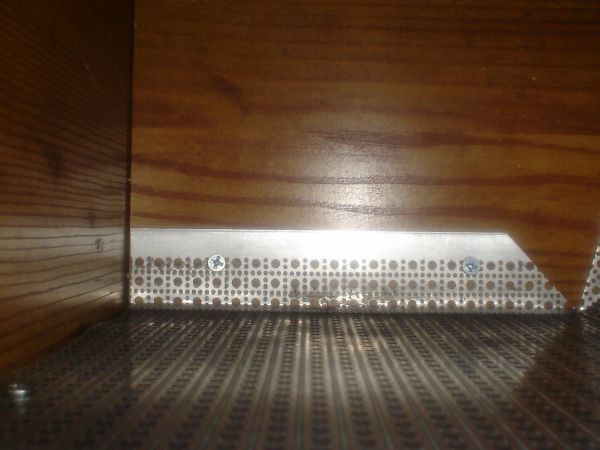
I put the top back on and then re-attached it to the rest of the printer stand.
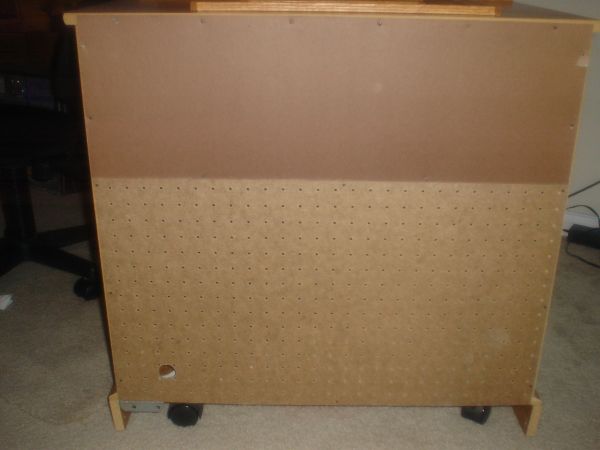
Now it was time for the back to be completed. Here is what the back looked like.
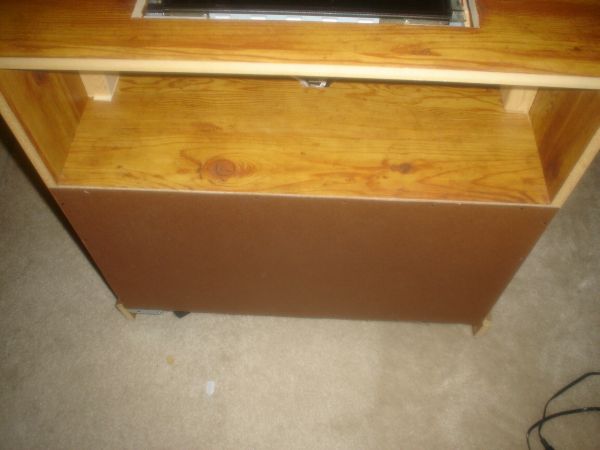
and here is the finished product. I removed the backing that was already on it, replacing the bottom portion with peg board to allow for ventillation and to let some of the bass sound out of the back. I also added a hole for the power cord.
Then cut and trimmed the former backing to fill in the top portion.
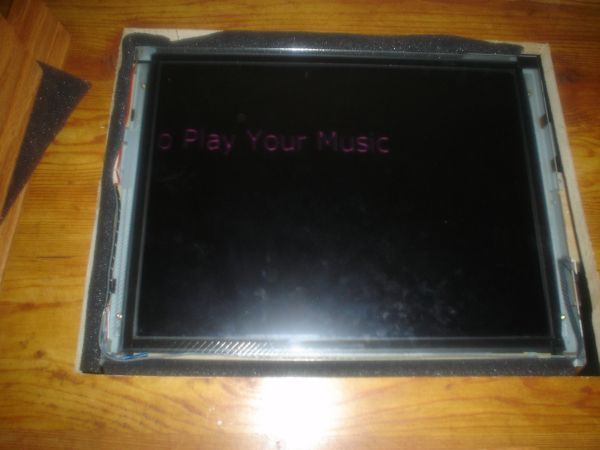
I was then wondering how my stained casing would hold up around the touchscreen. I added this foam around the touchscreen to help soften any pressure to the casing that would be applied by people when using the jukebox.
Then I attached the casing with my air nailer using 1" brad nails.
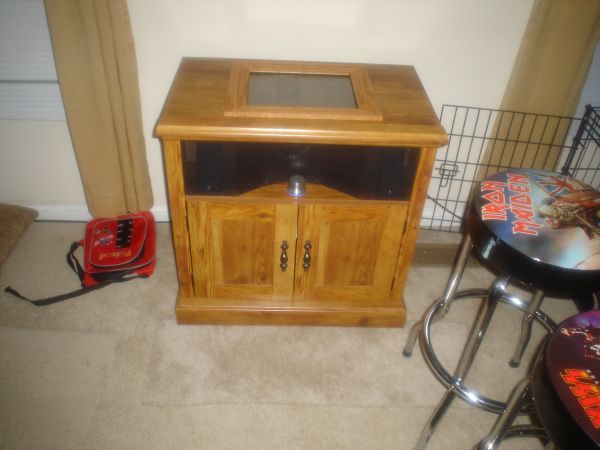
99% finished.....
It's no longer is a printer stand, it is now my JUKEBOX!
More Pics..... Page 5 <----- Click Here

